
How to drill a hole for drainage?
Good drainage conditions are essential for the growth and health of any plant. Drainage holes in pots allow excess water to seep out after watering, preventing pooling at the base of a pot which can cause root rot, fungus and bacteria. These holes also help ensure that soil does not become overly saturated with water by allowing it to drain itself of excess moisture. If your pot does not have pre-drilled drainage holes, you can remedy this problem by drilling your own carefully so as not to break it; this will keep both your plant and soil from becoming soggy or overwatered.
Glazed pots are shiny and smooth on their surfaces whereas unglazed ones are dull in appearance with rough texture; they also tend to be highly porous compared to glazed ones which are non-porous – making them more difficult to drill through than brick!
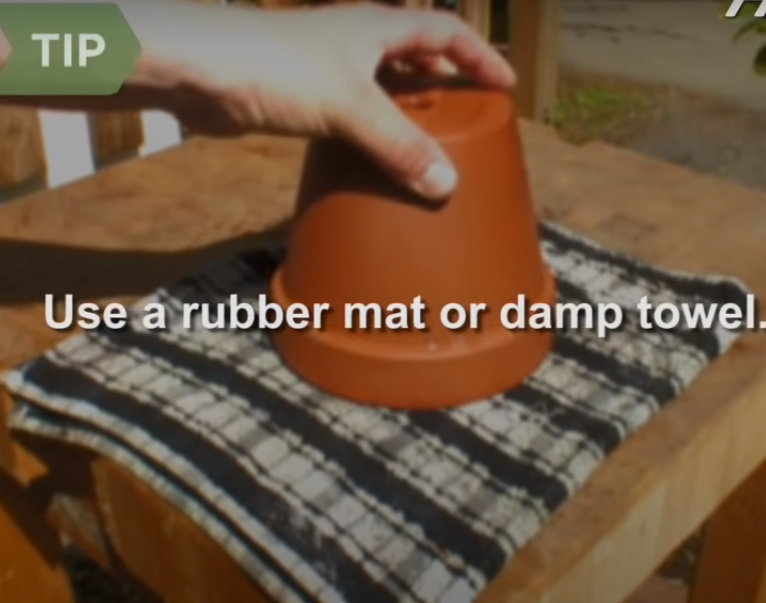
It is essential to ensure that you have a secure and stable work surface such as a table or bench, which should be protected with newspaper, cardboard box or towel. When handling clay pottery it can release silica into the air so always wear a respirator and eye protection such as goggles or safety glasses for added protection.
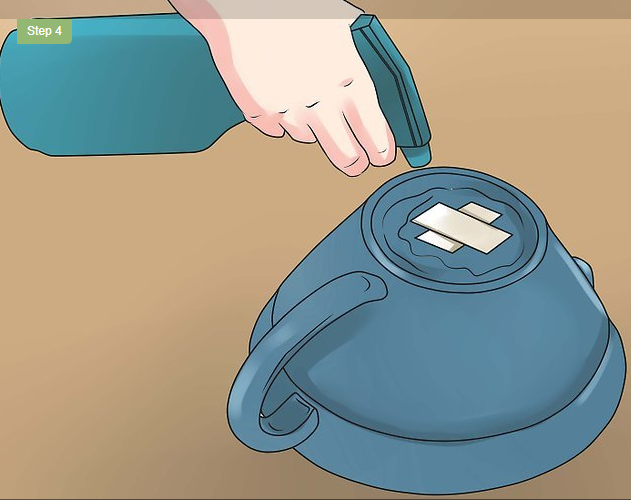
Drilling glazed pots requires a different approach than unglazed ones. To ensure that your drill bit and pot remain cool, it is essential to have a constant flow of water into the hole you are drilling. This does not need to be excessive, but frequent enough so that the clay/terracotta remains at full strength throughout the process.
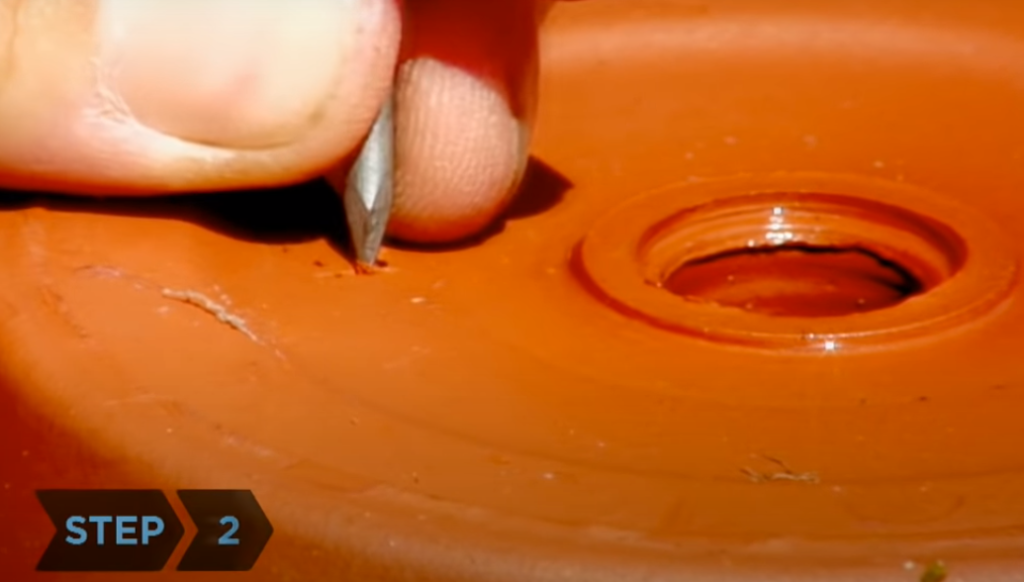
Before drilling into the pot, it is important to measure and mark the hole or holes. All holes should be at least one inch from the edge and two inches from any other hole for safety purposes. A permanent marker or pencil can be used directly on the underside of a pot, while painters tape can also be used as an alternative option. Additionally, a nail may also help guide by scratching or denting in order to provide direction when using a drill bit. When selecting an appropriate bit for glazed clay pots, start with one designed for tile/glass and then switch to masonry once you’ve cleared through varnish layer; this should ideally three-four times smaller than intended finished diameter of your hole(s).

Drilling a pilot hole in clay is an important step to ensure the structural integrity of your pot. By drilling at a low speed, you can avoid subjecting the material to too much stress and reduce the risk that your pot will break. To do this, connect your drill to power and attach the bit before setting it on forward mode. Grasping it like a handgun, place its tip against the surface of the pot with its bit perpendicular to bottom before squeezing trigger; provide bracing and resistance but not pressure while doing so for best results.
Drilling a pilot hole in clay is an important step to ensure the pottery you are creating does not break due to excessive stress. Once the pilot hole has been created, it’s time to gradually enlarge it with successively larger drill bits. Be sure that your drill bit remains sharp for optimal results; if necessary, sharpen or change out your drill bit as needed before continuing with each successive enlargement of the hole until you have reached your desired size.
sources:WikiH犀利士 ow&Howcast.com


Leave a Reply